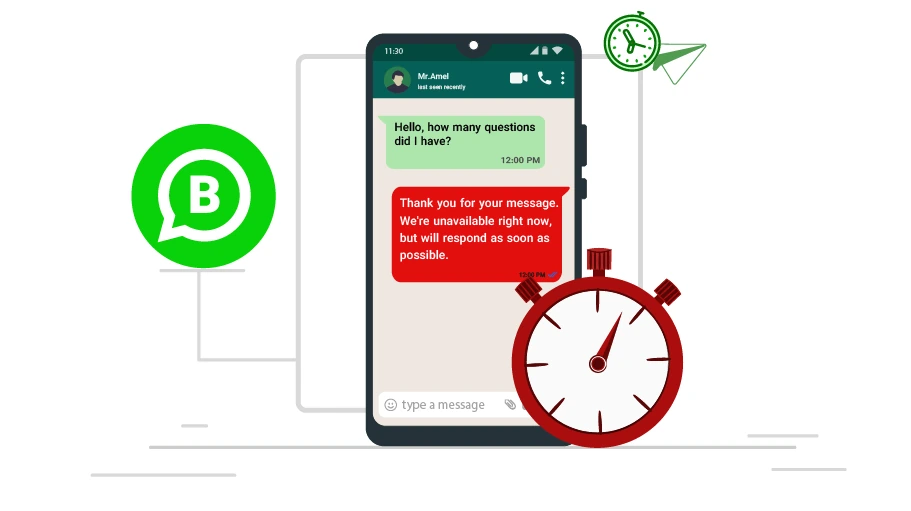
Schedule WhatsApp Messages
Table of content
You do not want to leave your customers who send you a message on WhatsApp unanswered if you are in a business meeting for hours or not working. Looking for an answer to solve this problem, you will need to use the WhatsApp Business feature to send scheduled messages in such a situation.
In this article you are going to find out everything you need about this WhatsApp Business feature.
Send Scheduled Messages in WhatsApp Business
With the WhatsApp Business Scheduled Messaging feature, you can send your message to any contact you want at the date and time you specify. In the following, you will see how to use this feature and send scheduled messages in WhatsApp Business.
To know more about other features of WhatsApp Business, refer to the article below.
 Read the article below WhatsApp Business Features
www.v-user.com/WhatsApp-Business-Features
Steps to Send Scheduled Messages in WhatsApp Business
Here is how you can schedule the WhatsApp Business to send your message to the desired contacts at a pre-determined time.
Step 1 First you need to download and install WhatsApp Business on your phone.

Step 2 Click on the three dot icon () on the top.

Step 3 Then select Settings to open WhatsApp settings (iPhone users must select the gear icon from the bottom of their WhatsApp to open the WhatsApp Business settings).

Step 4 In the next step, go to Business tools.

Step 5 Then select the Away message (on some phones you do not need to go to Business tools to access Away message because you can find it at the bottom of the same page).

Step 6 Here, you will see Show away message. If this option is disabled you will need to enable it.

Step 7 After it is enabled, new options will appear. In the box below you can put the text of the message that you want to send to your contacts. By default, there is text for you that you can delete and put your own instead.

Step 8 In the next step, you will see a box where you can enter the message you want to be automatically sent. In this box, there is a default text that you can touch to edit or delete and insert your desired text. When the message is finalized, press the OK button.

Step 9 Now you need to specify a time for the message to be sent. In this section (Schedule),, you must first select one of the following three options.


- Always Send:
This option is used for automatic message sending in and outside of business hours. - Custom schedule:
You must select this option when you want to send a specific message to your audience at a specific time. This option is mostly used when you are in a business meeting and someone sends you a message on WhatsApp Business. Then, a message from you will be sent to them automatically; Say, for example, "Thank you for your message. I'm not available right now. I'll get back to you as soon as possible." - Outside of business hours:
This option is used to send automated messages outside of business hours. This means that anyone who sends you a message during hours other than your business hours will automatically be sent the WhatsApp message you want (you must specify your business hours in advance in your WhatsApp business profile).
Step 10 Now you need to specify the start time of sending the message from the Start time box and the end time from the End time box.

Step 11 َAfter setting the start and end time, click Done.

Step 12 Now you need to select the contacts you want. Select your contacts from the Recipients section in the Away message section.

Step 13 Your contacts will be divided into the following four groups to receive the scheduled message:

- Everyone: Your schedule message will be sent to all your contacts.
- Everyone not in address book: Your message should be sent only to those who are not in the list of your mobile phone book. This option is mostly used when you want to welcome new customers.
- Everyone except…: This option helps you to make an exception for sending scheduled messages to some of your contacts. This means that your message will not be sent to the contacts you select below. Next, you must check the box next to the names of the desired contacts who you do not want to receive your message. Your operation will then end by selecting the tick icon or the Done .
- Only sent to…: This option allows you to specify only your target contacts. Next, you need to select the contacts from the list of your booklet to whom you want your message to be sent.
Step 14 In the last step, you must save all your settings.

In this article, you learned how you can send your desired message in a predefined way and automatically to your favorite audience at the appointed time in WhatsApp Business. We hope you find this article useful. We are waiting for your comments, suggestions and questions in the comments section.

Frequently Asked Questions Frequently Asked Questions
Can I send scheduled messages in the regular WhatsApp?
Do you need the internet to send scheduled messages?
Can the scheduled message-sending time be changed in WhatsApp?
Do you need to install a specific program to send scheduled messages in WhatsApp Business?
Conclusion
In this article, you learned how you can send your desired message in a predefined way and automatically to your favorite audience at the appointed time in WhatsApp Business. We hope you find this article useful. We are waiting for your comments, suggestions and questions in the comments section.
